Showing posts with label Keyrings. Show all posts

Friday, 31 August 2012

Back to School!

Things are getting busy here preparing for a new year of school.  For now it's important (in our house at least) to ensure coats and bags will not get lost in the coming year...  So in between getting orders ready we have been doing a bit of quick crafting.  Starting with a little someone's lunch box...


And her coat...


And for her friend's book bag,


And another friend's sports bag.  Difficult to see, but we chose a basketball background here.


All were made super-easily in a matter of minutes using a few images overwritten with text using Photoshop. If you don't have Photoshop and are struggling to tweak your images, we have discovered a free system that covers more than all the basics (woohoo, layers!!)  Try it, it's called Paint.net and is available to download from CNET here.

You can use most smooth papers here, and most inks (however felt tip inks seem to run after some time, so watch out for that).  The trays are our 18mm silver plated round trays, and we have used epoxy stickers glued onto the tray using just a smidgen of tacky glue.  We have attached the trays to the garment using either our new little ball chains or split rings.

Cool, customisable to your little poppet, and easy enough that they can help to make it.  We can't guarantee that they will sit still for a photo however!


Monday, 18 April 2011

Making a Key Ring using Epoxy Stickers

I have just made some excellent keyrings using my new epoxy stickers.  I had been coveting those epoxy stickers ever since I saw someone make some amazing cufflinks with them, and then I realised that the keyring that came with my own car (back then when it was new - a long while back, ha!) also was made using one of these epoxy stickers over a metal base.  A revelation.   So imagine my excitement when I found a manufacturer of them!

Having recently received my order - I quickly put them to good use on a couple of keyrings.  Here is what you need to do:

First, pick your image according to the size of the sticker you want to use.  I have here 1 inch stickers and I'm using the round ones.


Once you are happy with your image, peel back the protective sheet on the top and the sticker sheet on the bottom of the sticker and apply your sticky resin dome to your image, pressing well so that every little bit of the paper is touching the epoxy.


Then cut around it with sharp scissors to the shape of the sticker.


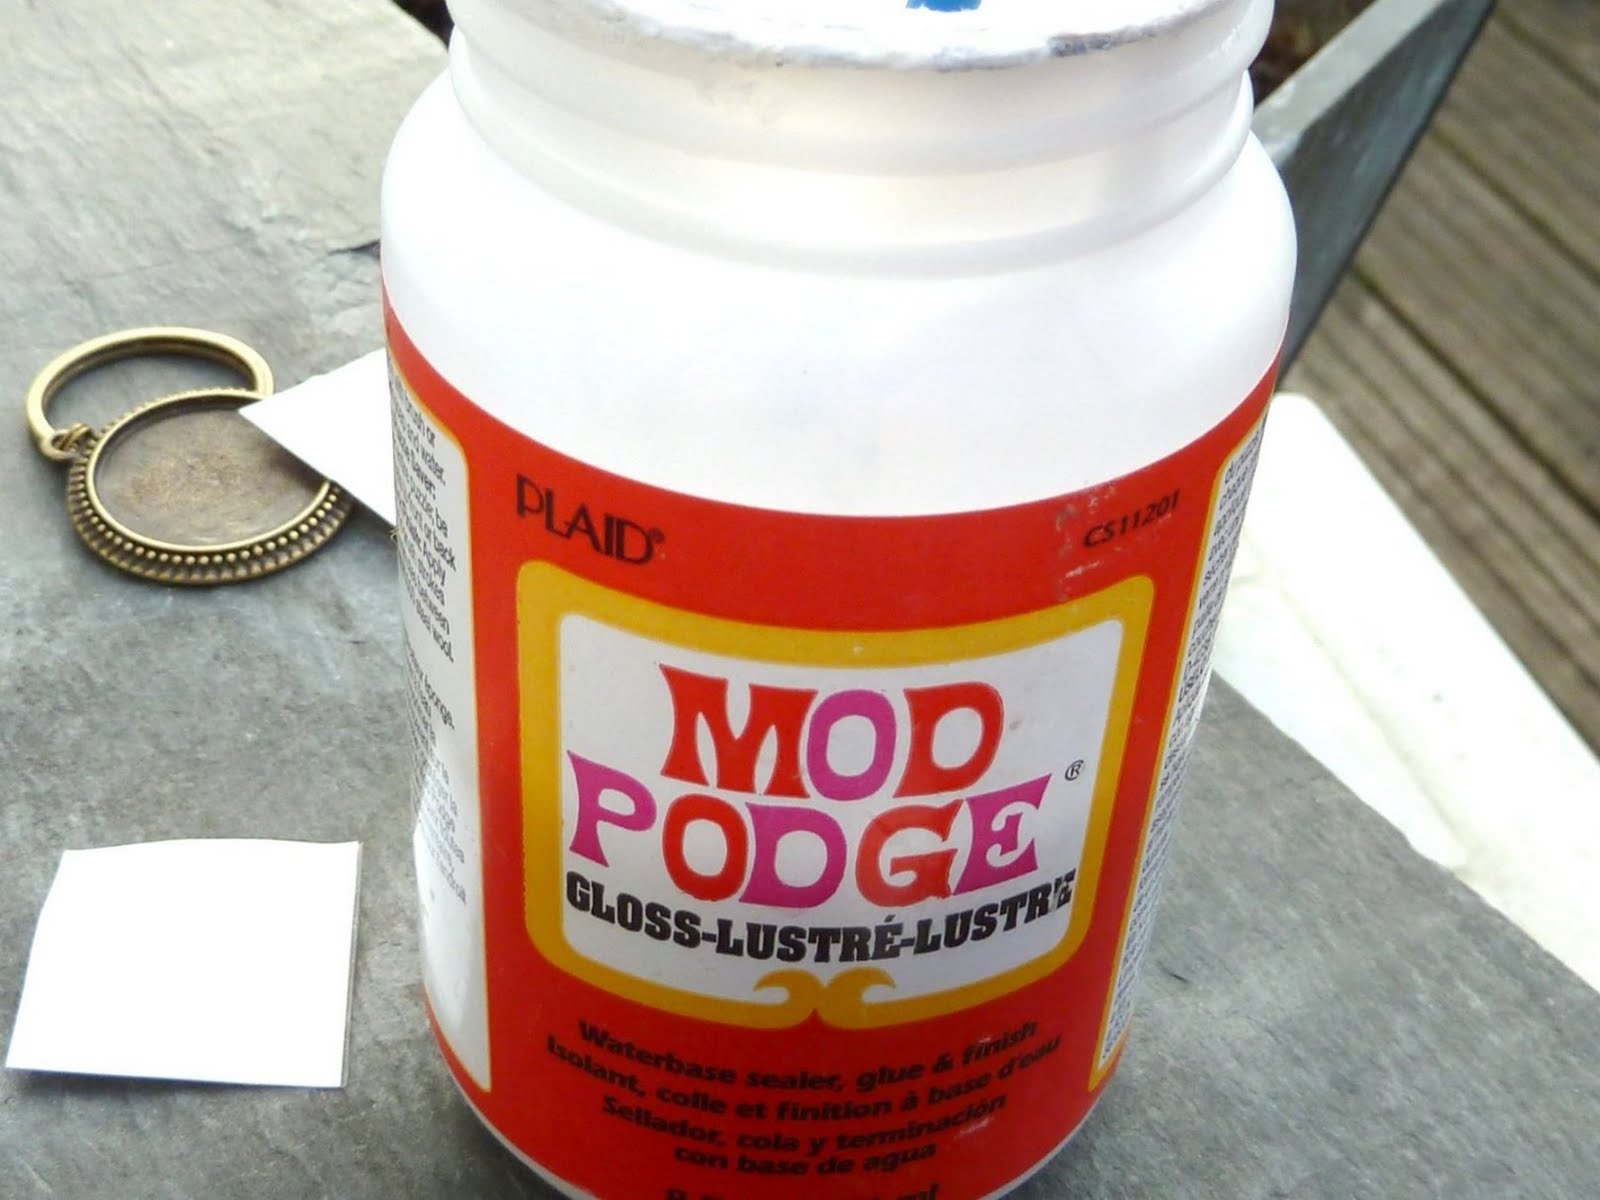
Finally, coat the back of the paper with a sealant, here I used ModPodge which is a sealant and a glue in one,


I used this also to glue the image into my keyring bezel.


Press it in well as you want all the edges to sit insize the bezel and be level.  Some glue may come out from the sides but with most glues you can just wipe away the excess (ModPodge is especially forgiving here).


Once it is pressed down and secured you can wipe the resin sticker with a damp cloth and buff gently to a shine ...and that's all there is to it!  A beautiful handmade keyring made in about two minutes!  Of course you have to let the glue dry, but you are free to admire your work to your hearts' content straight away!!