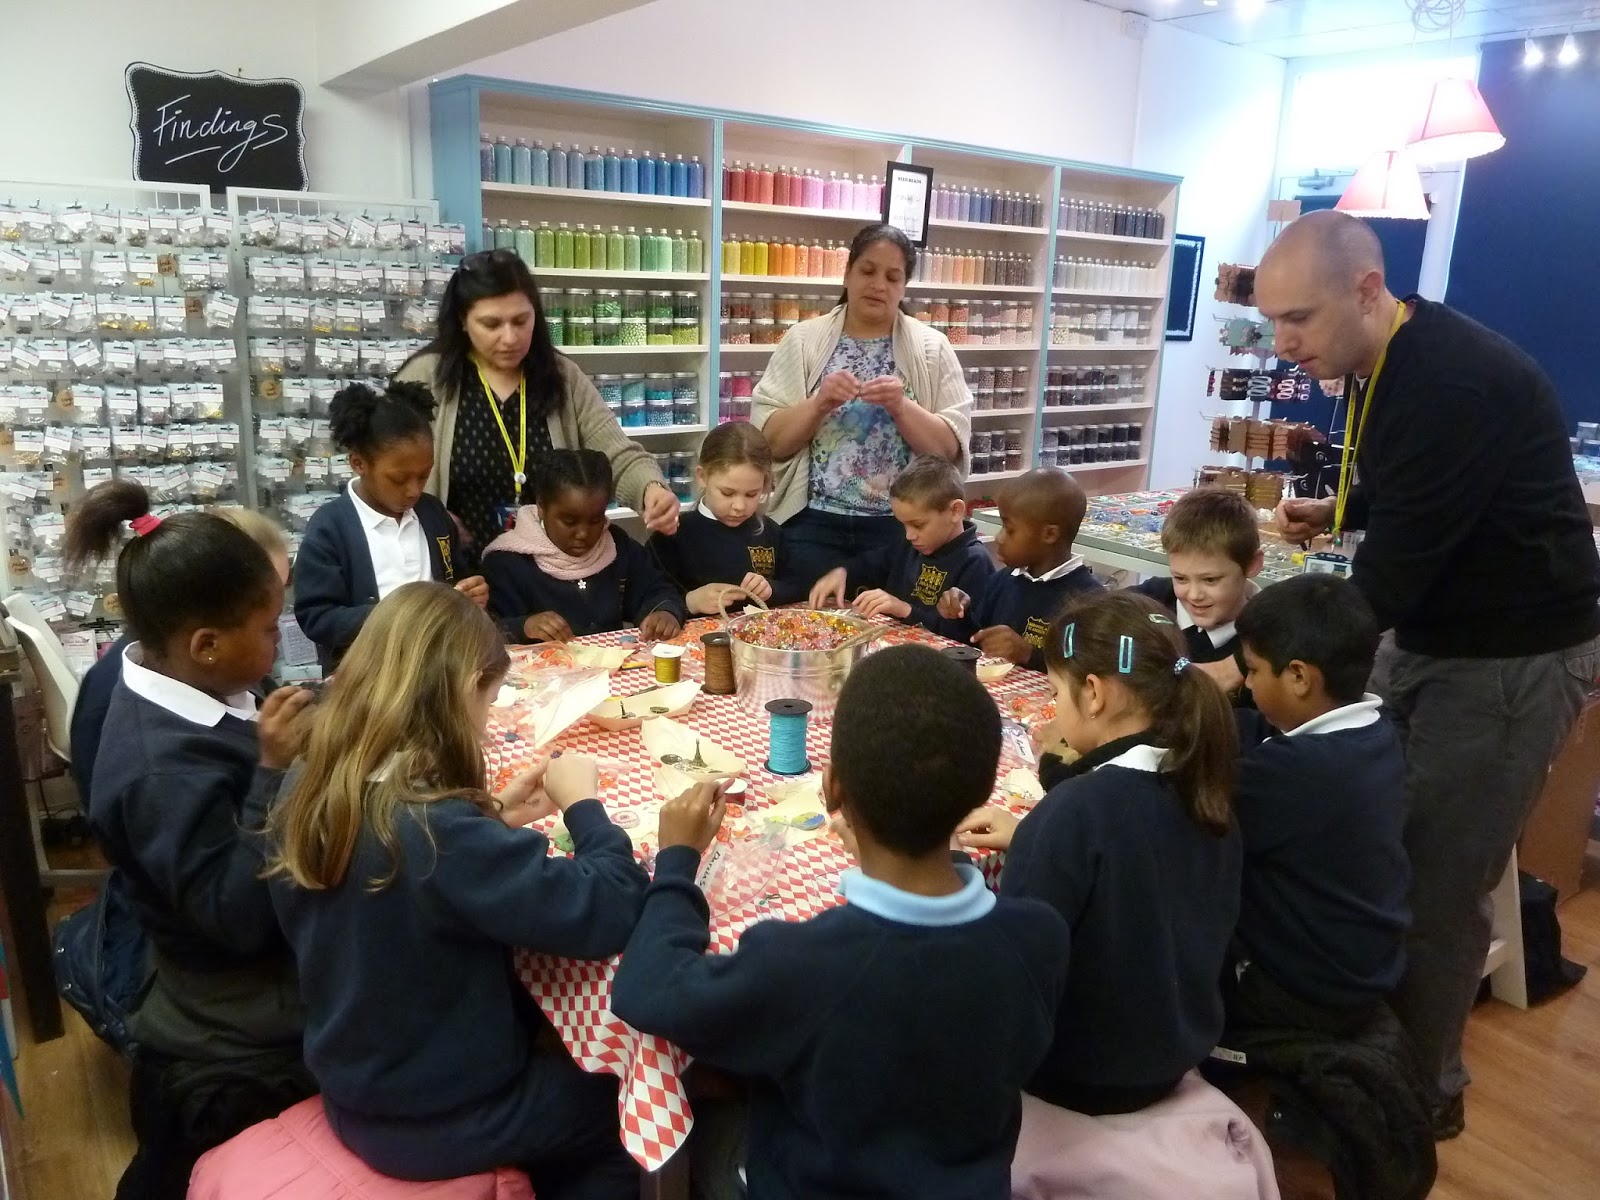
The girls were tasked with making a piece of jewellery symbolic of their holidays, and here is it - a beautiful memory bracelet:

Below they explain the process:
Holiday
Charm Bracelet
This
bracelet is about capturing precious memories from your holiday whether they’re
from a week ago or three years ago in the summer sun –and you would like to
remember the colours of the shimmering waves, or the crabs scuttling along the
shore- or a trip abroad to Italy or France where you ate foreign delicacies
while feasting your eyes upon iconic land marks -now is your chance to combine
these memories and make a beautiful charm bracelet.
We decided to do a seaside holiday charm bracelet. My bracelet has pearls,
swirling sea shells, a bottle of sea, a tiny picture of a boat on the sea and a
few hand-moulded polymer clay treasures.
To start
this easy, quick and fun project you will need to get 4 beads that are
sea/beach inspired, shells, pearls, turquoise turtles/fishes are perfect for
this sweet accessory. Make bead charms with them by using headpins.
Then get
polymer clay in pink or orange to make a sweet little starfish charm. You can
make your starfish by making a ball first from polymer clay, then pinching 5
sides to make the star shape. To add detail to your starfish get a toothpick
and make small holes on the top and a star on the bottom, then put in oven at
125 degrees for 20 minutes- you must preheat the oven for at least 20 minutes
before so the oven is hot.
To make the
‘beach bottle’ get sand and very small shells (possibly from your holiday)
however if you cannot get these materials you can use glitter and seed beads.

Another
polymer clay charm you can make is a shell. Make a ball with yellow polymer
clay and push it down a bit so it’s the shape of a burger. Make it into a
v-shape and at the top of this V make indents that follow to lines. Make these
details with a tool if you have one, if not just use a toothpick. Cover your
polymer clay shell charm in mica powder to give it a golden magical shine, to
bake it do the same instructions from before with the starfish.
The last
two charms for your bracelet are glass tiles with photos behind in small metal
trays. First get 2 10mm glass cabochons and cut out a photo from your holiday
or draw a memory from your holiday the same size as the glass cabochon, then
seal with ModPodge. After it dries use silicon adhesive to stick the image to
the glass, only use a drop but enough so that it spreads around the whole
cabochon.
After that dries stick the cabochon to the tray with ModPodge, and wait 24
hours.
After all
the charms are ready, dry and baked, you can assemble them. First cut a large
link chain to the length of your wrist, use two jump rings one on one side, and
one on the other with a clasp. Put jump rings on all of the charms and attach
them to the chain. Put the charm bracelet on and feel like you’re in the sun on
holiday again!

Have a lovely summer!
from Tabby & Amber x