Monday, 18 April 2011

Making a Key Ring using Epoxy Stickers

I have just made some excellent keyrings using my new epoxy stickers.  I had been coveting those epoxy stickers ever since I saw someone make some amazing cufflinks with them, and then I realised that the keyring that came with my own car (back then when it was new - a long while back, ha!) also was made using one of these epoxy stickers over a metal base.  A revelation.   So imagine my excitement when I found a manufacturer of them!

Having recently received my order - I quickly put them to good use on a couple of keyrings.  Here is what you need to do:

First, pick your image according to the size of the sticker you want to use.  I have here 1 inch stickers and I'm using the round ones.


Once you are happy with your image, peel back the protective sheet on the top and the sticker sheet on the bottom of the sticker and apply your sticky resin dome to your image, pressing well so that every little bit of the paper is touching the epoxy.


Then cut around it with sharp scissors to the shape of the sticker.


Finally, coat the back of the paper with a sealant, here I used ModPodge which is a sealant and a glue in one,
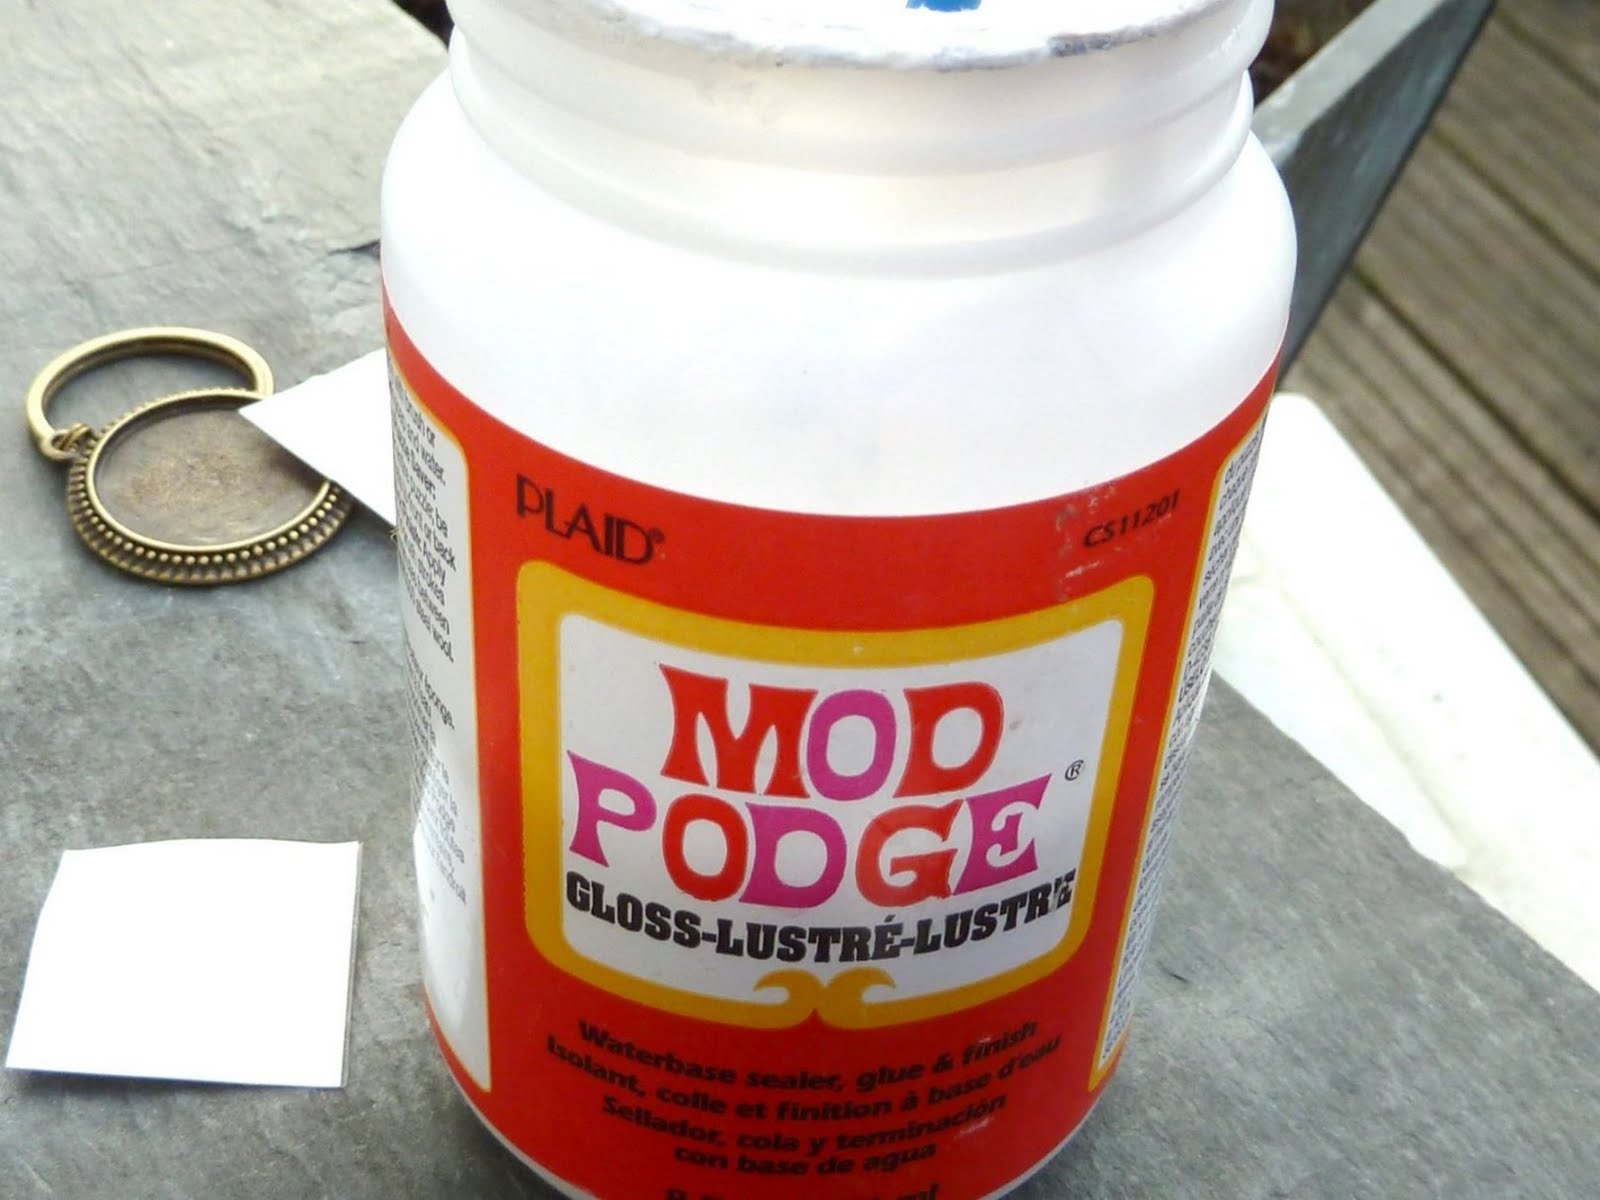

I used this also to glue the image into my keyring bezel.


Press it in well as you want all the edges to sit insize the bezel and be level.  Some glue may come out from the sides but with most glues you can just wipe away the excess (ModPodge is especially forgiving here).


Once it is pressed down and secured you can wipe the resin sticker with a damp cloth and buff gently to a shine ...and that's all there is to it!  A beautiful handmade keyring made in about two minutes!  Of course you have to let the glue dry, but you are free to admire your work to your hearts' content straight away!!


Sunday, 17 April 2011

These are oval-ly good!!

I've long debated with myself whether I liked ovals as a shape - and after seeing these...  I do!!  I have big plans for these babies - the connectors are going to go in a ready-to-make bracelet kit, and the pendants - well, let's say Christmas planning came early at our house!


Connectors in antique silver...

....and antique bronze


Ornate pendants in antique bronze (and silver!)

 And clear glass pieces to fit!

All of which are available in the shop! 

Rectangular pendant trays now in the shop!

I have finally managed to list the new domino tile pendant trays from my previous post.  Find them here or click on the photo.

Friday, 15 April 2011

Still here!

I know I haven't been around much - goodness knows I have been busy busy busy.   I had my munchkin's fifth birthday, which required lots of baking and lots of get-togethers, we also went to our cousin's wedding back home in Barcelona - a beautiful sunny day in the hills to the north of the region, and so we took advantage of the occasion and stayed a few days in the warm sunshine (for a while it looked like I brought it back with me, huh??), and then on returning to the UK I received not one, not two, but THREE new deliveries of gorgeous items for the shop. A little taster of what's to come...


And much much more...   I'll try to post updates here on all these items as they get listed, check back for updates!  :)


Sunday, 13 March 2011

My First Attempts at Magnets

These were my first attempts at joining glass to paper - with my first bottle of Diamond Glaze I made some magnets that I was (am!) very proud of.  They still grace my fridge to this day.


In those days, I'm talking about oh a good couple of years ago, all I could find were these glass drops, they were all uneven, full of bubbles and prone to splintering, but it was a revelation to me how they would transform a simple image into something that seemed to move as my eyes glanced over it - if I moved this way, the image would move that way, if I moved that way, the image would move here - now I know this as the dimensional effect of glass, and certainly round domed glass seems to show this more than square flat glass.  There is probably a very good scientific reason for it, but I won't go investigating.  I'm guilty of always wanting to know the why of everything, but sometimes it is refreshing to just enjoy without probing.

Wednesday, 9 March 2011

New In The Shop - Glass Coins!

Oh my - aren't these beautiful?


They measure about 24mm and fit into the 25mm trays I sell - they are lovely clear glass and the novelty factor here is that they are flat!  If the domed ones are not your thing, try these.  They will be perfect for jewellery and magnets.


Just arrived in the shop, they sell at £3.00 for 10.  Find them at the Jasmin Studio Crafts Shop.

Tuesday, 8 March 2011

Printed Mosaics for Jewellery

These babies will eventually make it into some of my pendant trays and will go for sale in my other shop - they are ceramic mosaic tiles which I have imprinted with various images from my collection.  I will offer a tutorial for these little beauties soon but for now, I just wanted to show them off, because I'm rather pleased with them!

Monday, 7 March 2011

How NOT To Make a Glass Tile Pendant Part 3 - Bubbles

How annoying is this?  You make a beautiful pendant, it is flawless, yet a few days later you notice that bubbles have set under the glass...  grrr.  This was not even an intentional mistake for blogging purposes! This was a piece I made for myself because I love the combination of the ornate vintage bronze tray and the red paper.


The papers were well sealed, and I had coated the tray with ModPodge to avoid the blue rinse.  So what went wrong?  Here is what I think - I set the paper to the tray, and then the glass on top, and generally, you need to glue the paper to the glass first.  I have a sneaky suspicion that because the tray is slightly ridged on the inside, tiny air bubbles were trapped under the paper, which surfaced through the layer of fresh DG under the glass but couldn't then escape because the edges of the DG had already dried.  Just my theory!


I get far better results when I glue the glass tile to the paper first, let this dry, and then attach it to a tray.  Bubbles are definitely less, but one potential problem with doing it in this order is re-soaking the paper from the back, but that can be lessened by using a different type of glue in the tray, such as E6000.  Again I recommend experimenting to work out which method is best for you!

I'm going to keep this piece.  The camera blows up all the little detail but I still like this pendant and it is not that obvious at first glance, so it will be my little flawed piece and I will still wear it!  And ssssshhh, nobody need ever know about the bubbles.  Wanna see a super close up?


(Amazing that this would have printed out as an A2 size ...I looove my new camera!!)

Saturday, 5 March 2011

Just Arrived!

Just arrived at the shop - gorgeous new rectangular glass tiles! These babies measure 24x48mm and trays to match will be arriving in the next few weeks!! They look perfect with bails too - one for a vertical pendant, two for a horizontal pendant. Try them out! You can find them here.

Thursday, 3 March 2011

Crafty Diamond Glaze Projects Video

Here is a useful little video tutorial by Judikins creator, Judi Watanabe.  Judikins are the makers of Diamond Glaze and in this film, Judi shows us how to make a resin pendant and how she makes glass tile pendants.  There is also a sweet little project for using Diamond Glaze to capture tiny glass beads inside a tray - mmm I must try that!


And hey, aren't we all glad we no longer have to cut glass at our kitchen table? ;)